Start the year off with this fun, creative project to bring your class together!
This collaborative project is a great way to get your new class engaged and invested as they come in to the start of the school year!
Make it meaningful to your students by choosing specific designs, colours, or words that represent your school, class, and vision for the year - or freestyle it and see what wonderful patterns emerge!
Invite each child to have a turn at hammering in the nails and winding the string to create a super special, collaborative masterpiece to display on your wall.
Materials Needed:
Large Flat Piece of wood (plywood was used here)
Paint and brushes (optional, for background)
Pencil
Lots of Nails (recommend 40x2.0 flatheads)
Hammers
String or wool (various colours)
Scissors
How to Make Your String Art:
If you want to paint your piece of wood as a background, then do this first - it's near impossible to do after the nails and string is on.
Plan your design and draw it with pencil on the wood.
If you are doing words then try not to make it too intricate. Simple block lettering will be easier to read than swirly letters and easier to nail around.
Hammer nails all around the outline of each of your letters. Put the nails fairly close together so the outline will become really obvious when the string is on.
Remember not to hammer the nails all the way in. You need about one-third of the nail sticking out so you can wind the string around.
The rest of the board can have nails hammered in completely randomly however the students like.
Tie one end of a long piece of string or wool to one of the nails.
Weave and wind the string around the nails in any pattern you wish. The only rule here is that no string can go inside the lettering.
Once the pattern is complete, tie the loose end to another nail to secure it in place and prevent it from unravelling.
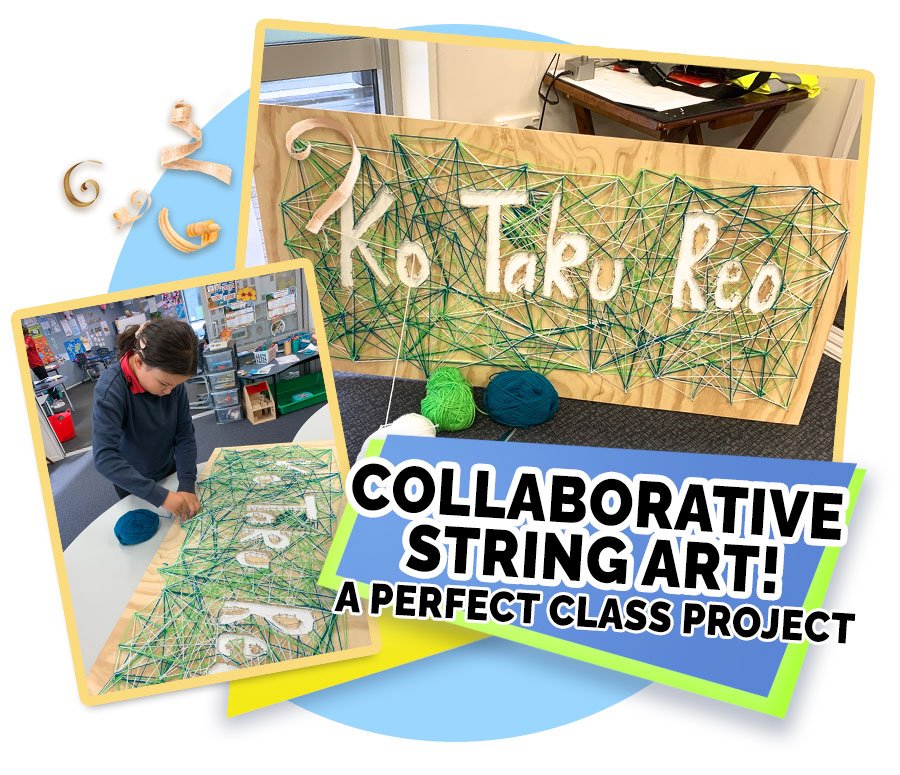
Check out the amazing kids at Ko Taku Reo making their class string art board!
Lisa’s Top Tips:
You could type your words or pattern out on the computer, print it and use it as a stencil to make the nail placement easier. Nail right through the paper and tear it off afterwards!
To get the lettering to really stand out, make sure each of the nails surrounding the letters have plenty of sting attached to them.
Switch it up by winding the string on the inside of the letters rather than the background. Or, do a mix with a different colour string for the inside and the outside so the letter stands out.
Give each student a different section of the board, or an individual letter on their own small board, then display them all together.
Or, have each student select one unique colour of string to work with. At the end they will see how everyone's colours have weaved in and around each other - a lovely symbol of all the students coming together on their learning journey
Or simply freestyle it and see what wonderful patterns emerge!
If you can’t get hold of a large piece of wood you can use smaller pieces and hang them side by side. Each student could create their own unique design, then share their story behind it and what inspired them.


