Christmas String Art Decorations
Get ready to spread some Christmas cheer with this fun string art project! Craft festive masterpieces from simple pieces of wood using colourful wool and a sprinkle of creativity.
Perfect for kids both young and old, with plenty of room for personal expression and creative exploration.
Let’s build memories together this Christmas!
To create your Christmas String Art, you'll need:
Flat pieces of Wood
Pencil
Nails - flat head Clout Nails work best to hold the string
Hand Drill and Drill Bit (choose one a little bit thinner than your nail)
Pliers (optional)
String or wool
Paint or coloured pens and pencils (optional)
Step 1: Choose your wood
Choose your piece of wood - think about how you want to display your Christmas string art when selecting which piece to use.
Top Tip: Larger thicker pieces of wood are best for standing on a shelf. Smaller lighter pieces are better for hanging.
Step 2: Prepare your wood
Using your sandpaper, sand off any rough edges and corners.
Step 3: Paint the wood
If you want a colourful backdrop for your string art, paint or colour the wood now and let it dry.
If you want to leave your wood natural then you can skip this step. Or, you might like to rub a little bit of oil on it for protection and to bring out the beautiful wood grain.
Top Tip: Painting or oiling the wood before adding the nails is much easier than trying to paint around them later!
Step 4: Plan your design
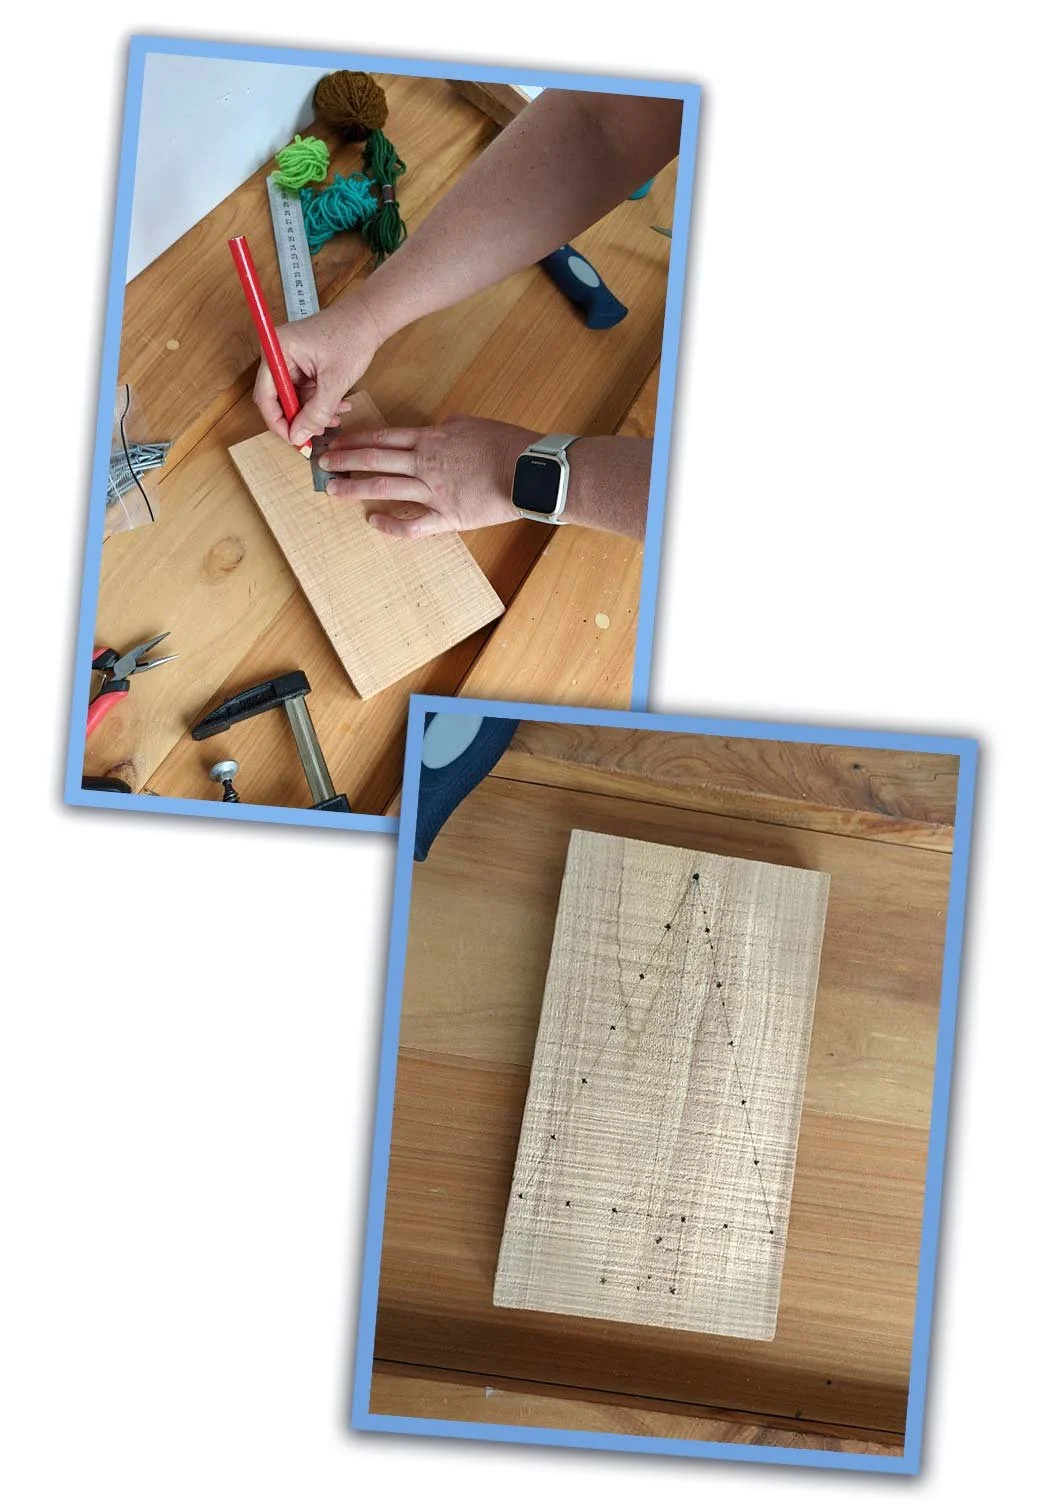
Plan your design and draw it on your wood with a pencil. We chose to do a traditional Christmas tree and a star. Other simple ideas are Christmas stockings, candy canes, ornaments, or anything else that’s meaningful to you.
We encourage giving your kids some time to think about what makes Christmas special for them and letting them create a design to represent it. It could be anything and each design will be wonderfully unique!
Top Tips: The trick is to keep your design simple. Too much detail might get lost in the string art.
Step 5: Mark the spots for nails
Mark out the key points around the outline of your design with a little cross. This is where your nails will go.
Step 6: Drill the pilot holes
Now, use a hand drill to make pilot holes at the marked points. Drilling pilot holes make it easier to hammer the nails in, and prevent the wood splitting.
Be careful not to drill all the way through the wood.
Top Tips: Choose a drill bit slightly smaller than the width of your nails for a snug fit. If your pilot hole is too big the nail will fall out.
Make sure you clamp your wood to the bench to keep it steady while you drill.
Step 7: Hammer in the nails
Hammer a nail into each pilot hole, making sure not to hammer right through the wood. Leave a portion of the nail sticking out to wrap the wool around.
Top Tip: If your little one needs assistance, pliers can help hold the nail steady for the first few hits.
Remember to wear safety glasses when hammering to protect your eyes in case something rebounds.
Step 8: Add the string
Get a long piece of string or wool and tie one end to one of the nails.
Then let your creativity flow! Weave and wind the string around the nails to create the pattern you want on your decoration.
Step 9: Secure the end of the string
Once your pattern is complete, tie the loose end to a nail to secure it in place and prevent the pattern from unravelling. Trim off any excess string.
Finished!
Display your finished masterpiece and bring some festive cheer to your home or classroom.
Display it proudly on a shelf, hang it on the wall, use as an ornament on your Christmas tree, or even gift it to a loved one!
Lisa’s Top Tips
This project can easily be adapted for varying ages and skill levels.
For older kids:
Incorporate mathematics into the design process by accurately measuring nail spacing and exploring symmetry and geometry concepts when weaving the patterns.
Challenge yourself with more intricate designs by using smaller nails and fine wool, string, thread or wire.
Explore different weaving techniques such as herringbone or zigzag patterns to add more complexity and texture to their designs.
Create 3D string art by experimenting with different heights of nails to create a 3D layered effect. For example, you could make a Christmas tree with taller nails in the center for a thicker trunk, and shorter nails around the edges so the branches are thinner.
For younger kids:
Instead of Step 4, print out a simple pattern and tape it to the wood as a guide for placing your nail holes.
Using a hand drill to make little holes for your nails first helps to stop the wood from splitting and makes nailing much easier and accurate.
Larger nails are easier for younger kids to hammer, and thicker string or wool is less likely to get tangled.
Encourage them to keep their designs very simple with a clear outline.
Freestyle it! Keep in mind that it’s the process, not the end product that’s important.
So long as they’re having fun it really doesn’t matter how it turns out. With this project you can guarantee they’ll be learning, developing skills and exercising their creativty muscles regardless!
Click here to check out our other craft projects!


