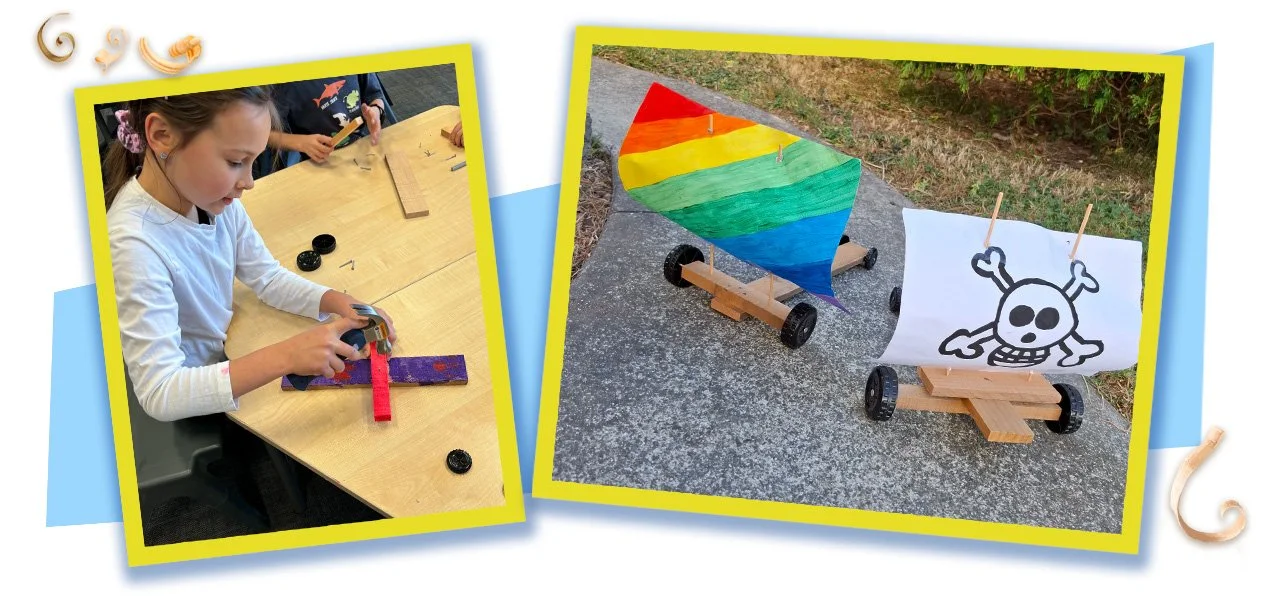
Kids! Get Ready to Design, Build & Test Your Own Land Yacht!
This step-by-step guide shows you how to build your own miniature land yacht or wind cart, a cool vehicle that uses the power of wind to race across the ground!
Design and build your land yacht using wood and paper.
Then, it's time to race!
See how far and fast your land yacht can go, then use what you learn to improve your design and make it even faster.
This is a fun activity that combines creativity, problem-solving, and a little bit of science.
Science and STEM Exploration:
Building and racing land yachts is a fantastic way to explore some cool science and technology concepts.
As you design and test your creations, you'll discover how wind power (a clean renewable energy source) generates kinetic energy to propel your land yacht.
Learn how aerodynamics and friction affect your yacht's speed.
Explore concepts like centre of gravity, thrust and drag.
By testing and improving your design, you'll discover how science and engineering work together to make things move.
This is a great way to connect classroom learning to a fun and hands-on activity, bringing the principles of STEM to life for kids in an exciting way.
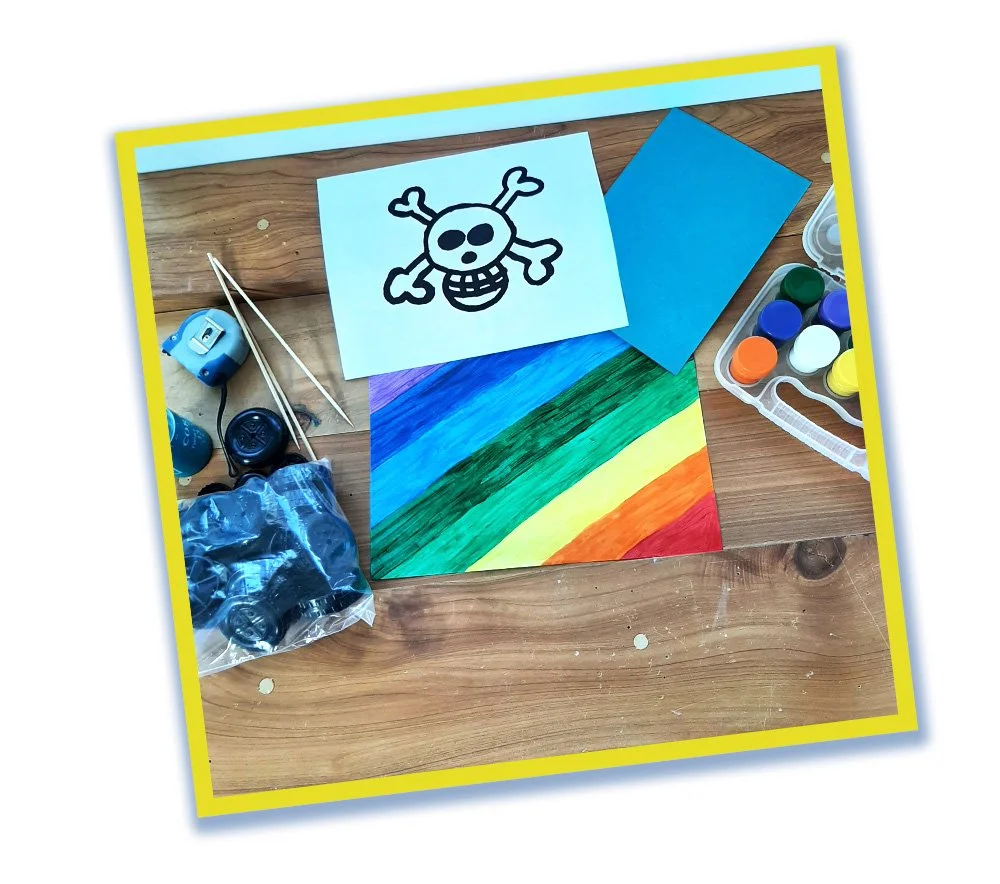
To create your Land Yacht, you'll need:
Long thin pieces of wood
Hammer (or screwdriver)
Selection of nails (or screws)
Bamboo Skewers
Paper sheets for the sail – A4 printer paper is a good sized starting point.
Colouring pens/pencils or paint for decoration.
PVA glue - optional
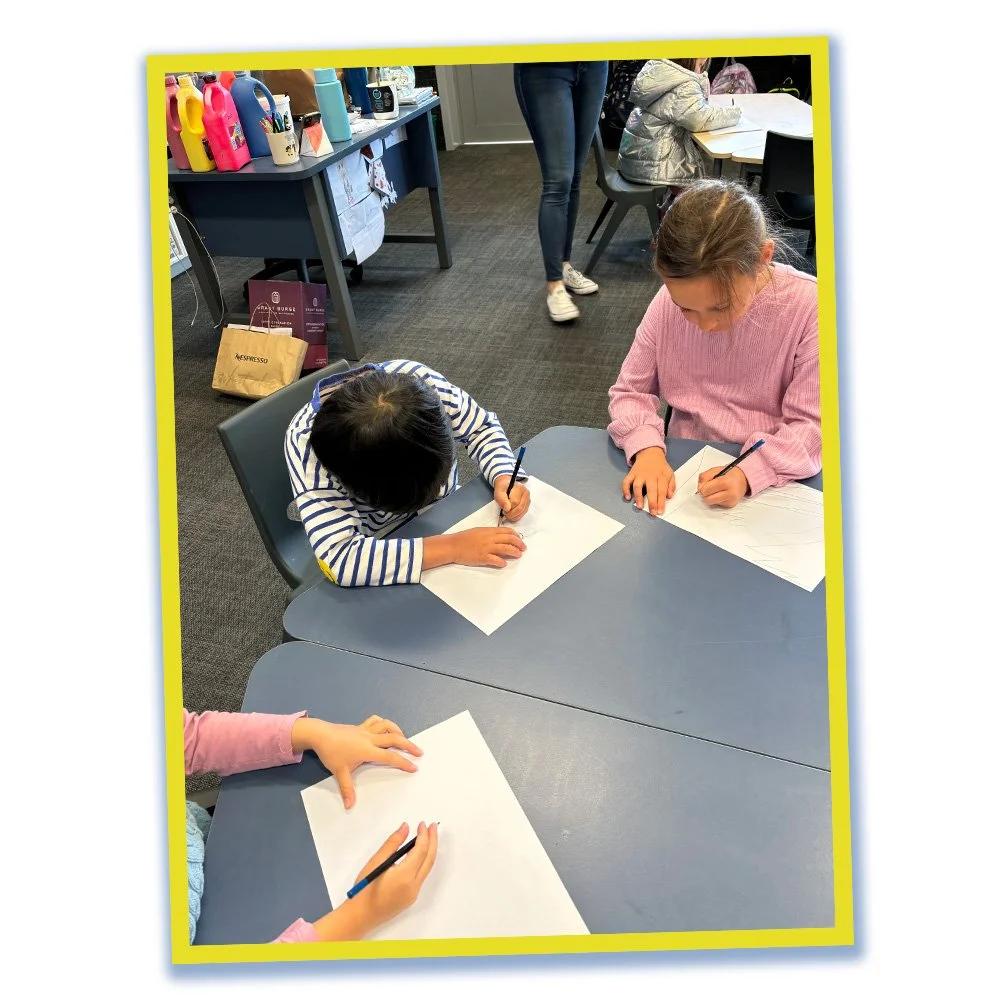
Step 1: Plan your design
Take some time to think about how you want your land yacht to look and what designs might work well.
What size and shape will it be?
Think about stability vs aerodynamics.
Will your yacht have a single or double mast? Will the mast be big or small?
How many wheels will your yacht have and how will you attach them?
Think about the weight of your yacht and how that might affect how fast your yacht goes.
Remember that more simple designs will be lighter and easier to build.
And don’t forget to think about what cool racing design you’ll draw on your sail!
Step 2: Cut your wood
If your wood needs trimming to fit your design, use your measuring tape and pencil to mark the cutting lines.
Secure the wood firmly to your work surface using a bench vice or bar clamp. Then, carefully saw the wood along the marked lines.
Top Tip: For safe and easy sawing, always clamp your wood firmly to your work bench to prevent it from slipping around.
Step 3: Sand the wood
Sand your wood with sandpaper so that the corners and edges are nice and smooth.
What role do you think this plays in how fast your land yacht moves?

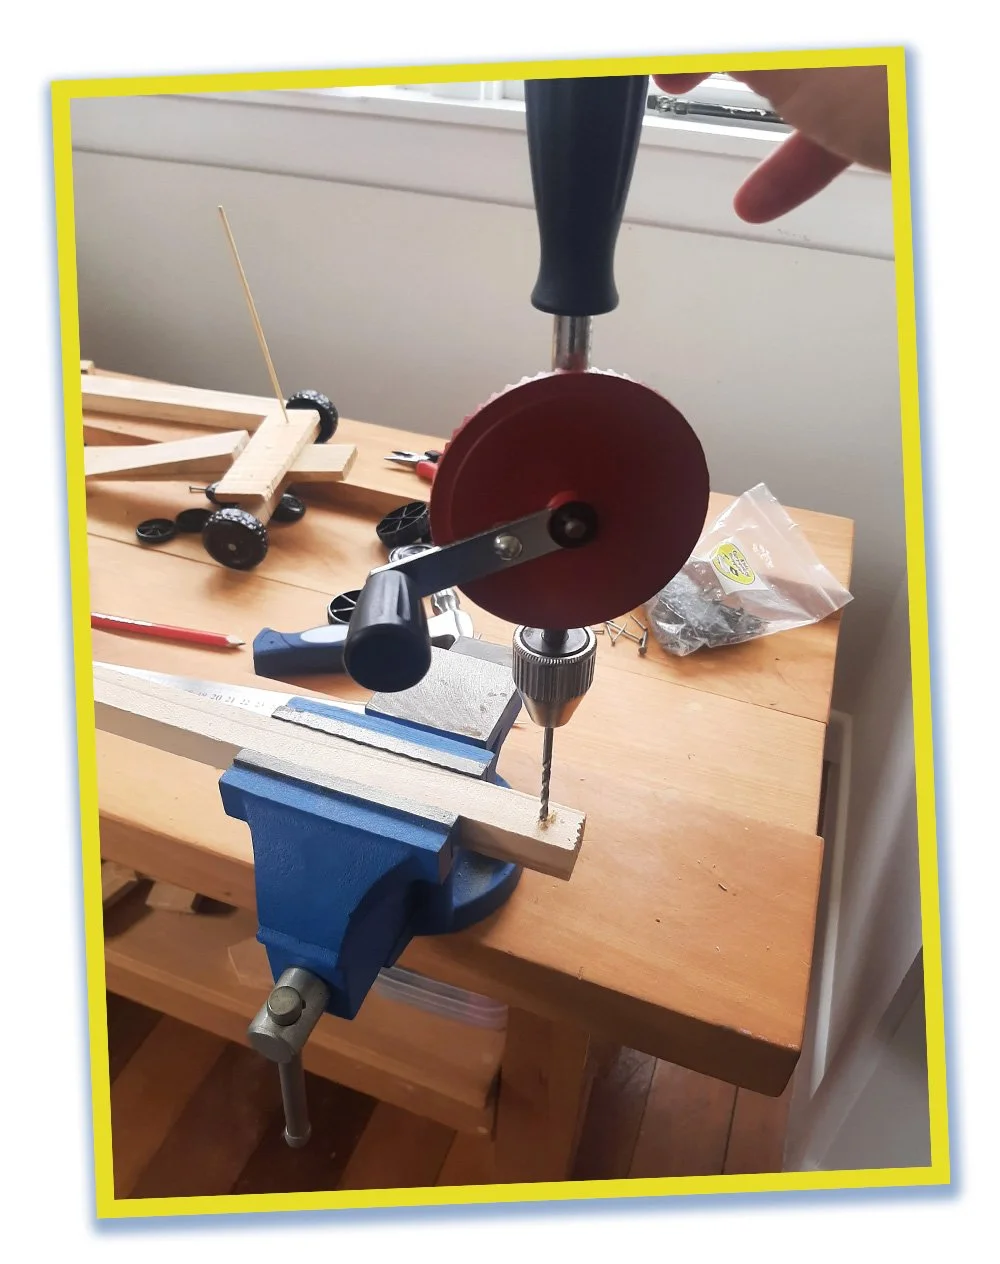
Step 4: Drill Pilot Holes
Decide where your pieces of wood are going to be nailed or screwed together and mark these points with a pencil.
Clamp your wood to the bench again and use a hand drill to make pilot holes at your marked points.
Remember you’ll also need to drill a hole for the mast, and holes to attach your wheels.
Top Tips:
Drilling pilot holes makes it easier to hammer the nails in, and prevents the wood splitting.
Choose a drill bit slightly smaller than the width of your nails for a snug fit. If your pilot hole is too big the nail won’t hold your wood together and it might fall out.
Make sure you secure your wood using a vice or bar clamp to keep it steady while you drill.
If using bar clamps, protect your work bench by putting a piece of scrap wood under your work piece, and clamp them both together to the bench. That way when you drill through your wood it won’t make a hole in your bench.
If attaching the wheels using an axle, the drilled hole will need to be slightly larger than the diameter of the axle to ensure it can spin freely.
Step 5: Assemble your Land Yacht
Using nails and a hammer (or screws and screwdrivers), fix your wood together following your design.
If you’re nailing your wheels directly to the wood, ensure the nails are thin enough to allow the wheels to spin freely.
Also, make sure you don’t hammer the nails tight against the wheel otherwise it won’t be able to move.
Attach your mast (bamboo skewers) to the body of the yacht. Some PVA glue could be used to help hold the mast in place.

Step 6: Make your sail
Using a piece of paper design and decorate your sail using pens or paint.
Will you keep it square or cut a fancy shape? What shape do you think will catch the wind best?
Remember to think about where the mast will be attached to the sail so it doesn’t interfere with your design.
Top tip:
Sail making can be done at any time, even the day before to ensure your paint has dried.
Step 7: Attach the sail to the mast
Use a ruler to measure where the mast (bamboo skewers) should be attached to the sail. For a double mast yacht, it works best if the sail is centred between the two masts - otherwise your yacht might not travel straight.
Make small holes in your paper sail where the skewers will weave through.
Thread the sail on the mast and adjust the shape so it can catch the wind from behind.
Top Tip:
Reinforce around the paper mast holes with small bits of sticky tape to prevent the sail ripping.

Step 8: Race your land yacht!
On a breezy day take your land yacht outside on a smooth flat surface like a concrete path, driveway, basketball court or deck and test it out! If it’s not windy you can race your land yacht indoors using fans, a hairdryer or flapping a magazine to create a breeze.
How did it go? Did you run into any unexpected problems?
How could the design be changed to fix the problems encountered?
If your yacht performed well, what design changes might make it perform even better?
Make some adjustments and race again!
We always love seeing what tamariki create. If you try this project in your classroom or at home, feel free to send photos through — we’d love to see what your little builders make.