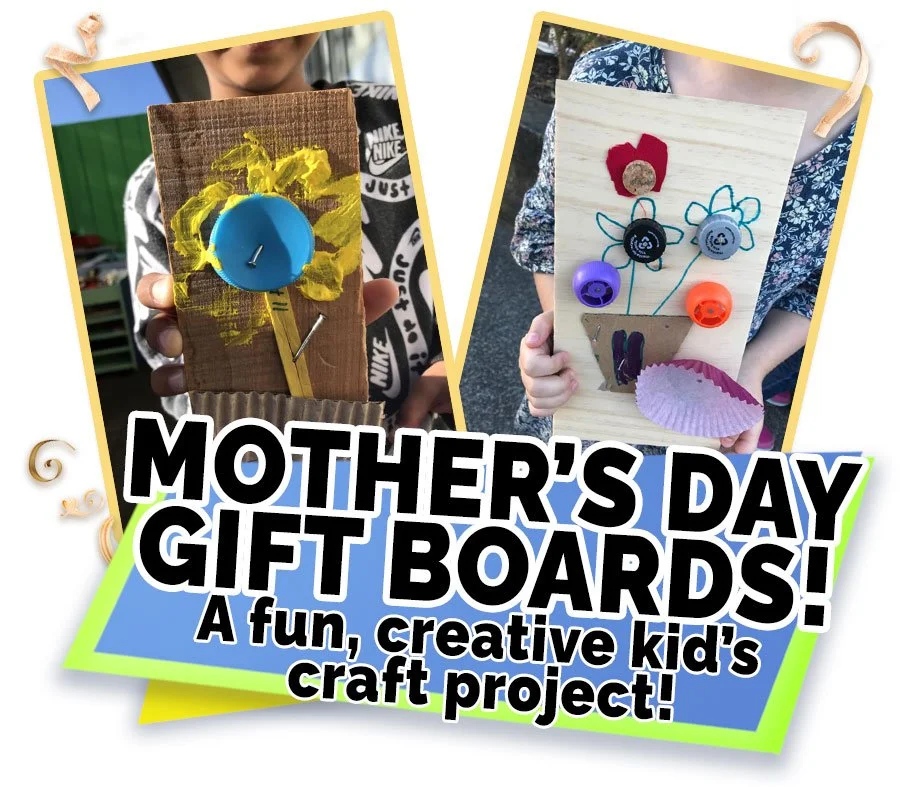
Here’s a simple carpentry idea your tamariki can make using wood offcuts and a mix of upcycled treasures to gift to mum, nana, or other special person on Mother’s Day.
It’s low‑prep, creative, and the finished pieces make really meaningful gifts!
Kids choose a piece of wood, explore up-cycled loose parts, and build their own design. Every creation turns out different, supporting imagination, fine‑motor skills, decision‑making, and early construction skills.
This project works beautifully in both ECE and primary settings.
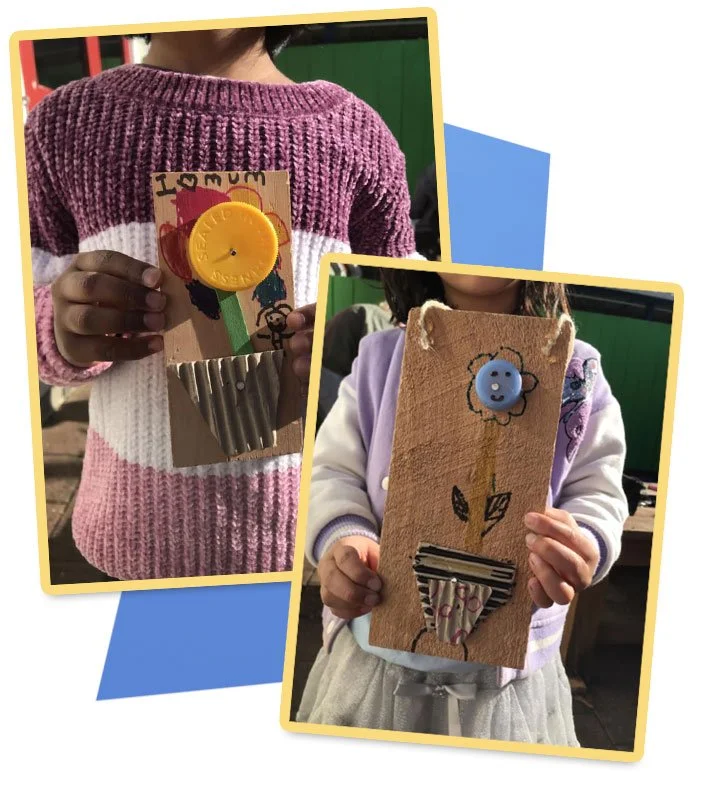
Photo credit: Western Heights School - thank you for sharing your beautiful mahi with us!
To create your Mother’s Day Gift Board, you'll need:
Selection of Wood Pieces
Glue - optional depending on what you are attaching
Items for decorating, for example:
bottle caps
popsicle sticks
paper cupcake cups
pieces of fabric
coloured/wrapping paper
cardboard
pens, pencils, paints etc.
Step 1: Prepare the wood
Choose a flat piece of wood as the base - or nail pieces together to create a unique shape. Sand any rough edges with sandpaper.
Don’t have wood on hand? We have assorted packs of wood here.
Step 2: Plan your design
Encourage sketching or talking through a design plan before attaching anything. This supports planning and decision‑making.
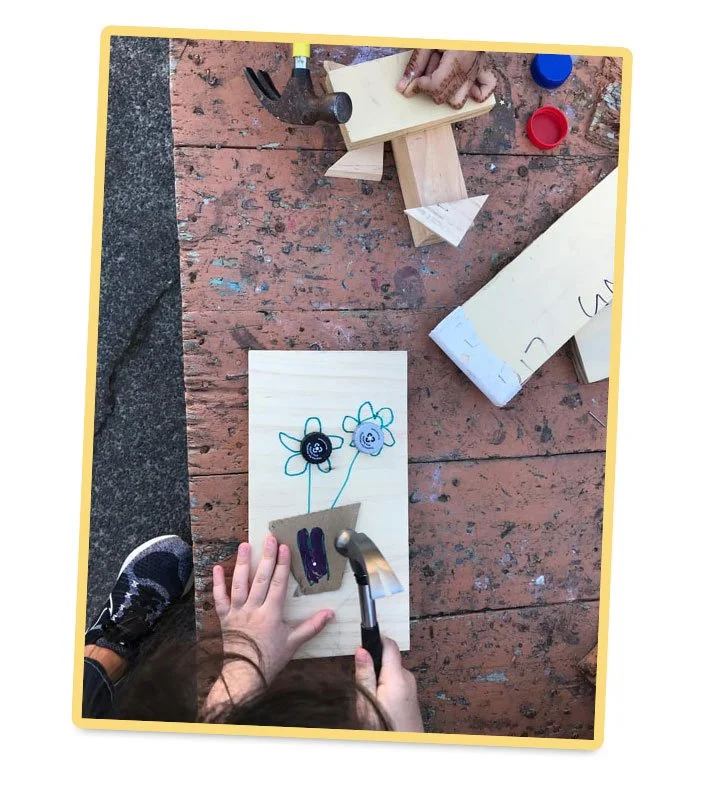
Step 3: Get Creative!
Nail your upcycled treasures to the board to make your design!
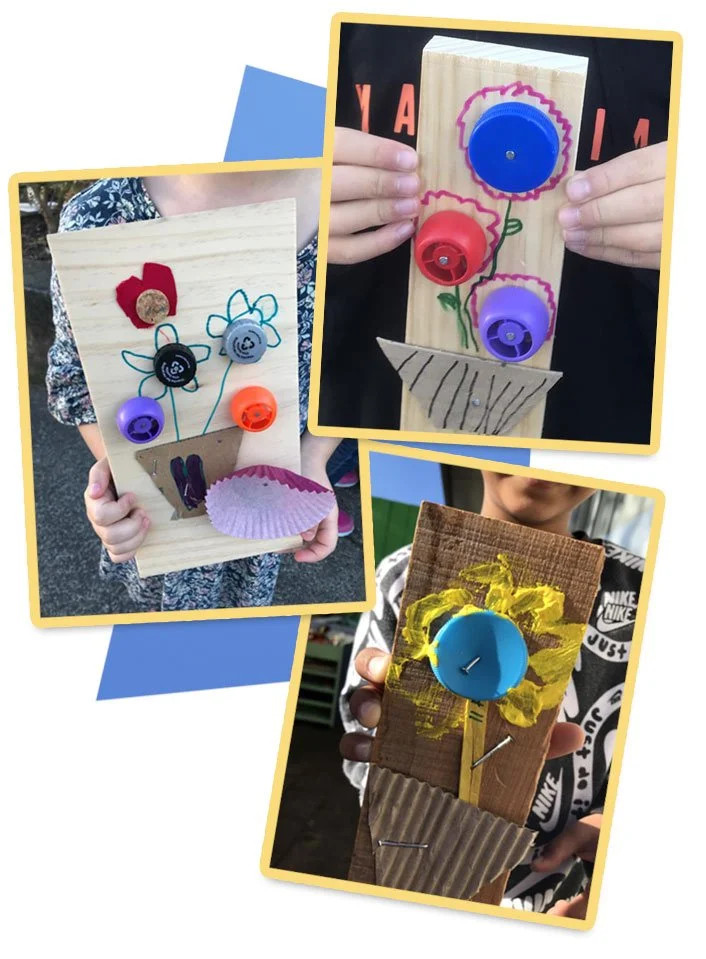
Good options are bottle caps, corrugated cardboard, small pieces of fabric or wrapping paper, cupcake cups. Some things can be glued on instead depending on the material.
Top Tip:
Use a Hand Drill to drill holes in plastic items before nailing. This helps to stop the plastic splitting and nails slipping on the slick surface.
We always love seeing what tamariki create. If you try this project in your classroom or at home, feel free to send photos through — we’d love to see what your little builders make!