DIY Threading Boards
Looking for a simple carpentry activity where kids can learn basic tool skills? These DIY threading boards for kids are the perfect project!
Children will help make their own threading board using wood and screw eyes (or hooks) – then enjoy hours of threading fun with ribbons, wool, string, or rubber bands.
It’s a reusable, hands-on activity that kids will keep coming back to.
Perfect for creativity, learning, and play.
Why Threading Activities Are Great for Kids:
Threading is more than just play – it’s a fine motor skill activity that helps children develop:
Hand–eye coordination
Finger strength and dexterity
Concentration and focus
When kids help to build their own threading board, they’ll be practicing basic carpentry techniques like sanding, drilling pilot holes, and turning screws all while building confidence with real tools.
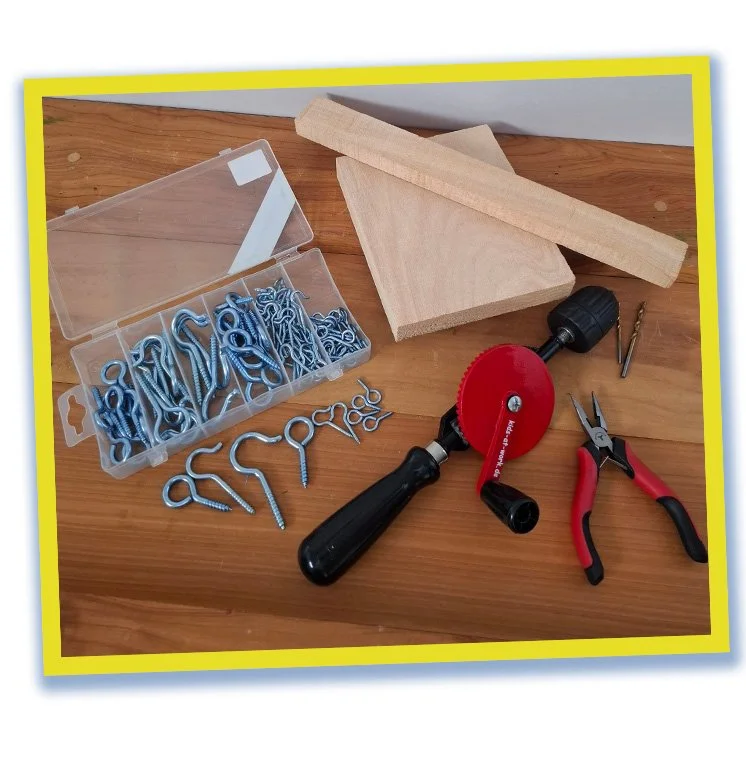
To create your Threading Board, you'll need:
Wood (any size of shape can be used)
Pencil and ruler (optional)
Hand drill and drill bits (for pilot holes)
Eye screws (or hook screws for a rubber band version)
Pliers (optional, to help twist screws in)
Ribbon, wool, string, shoelaces etc for threading
Step 1: Prepare your wood
Using your sandpaper, sand off any rough edges and corners on your wood.
Step 2: Plan your design
Decide where you want your eye screws to go. You could measure and mark out a uniform grid, make a simple shape (like a star, square, or triangle), or freestyle it with random placements. Use a pencil to mark where each screw will go.
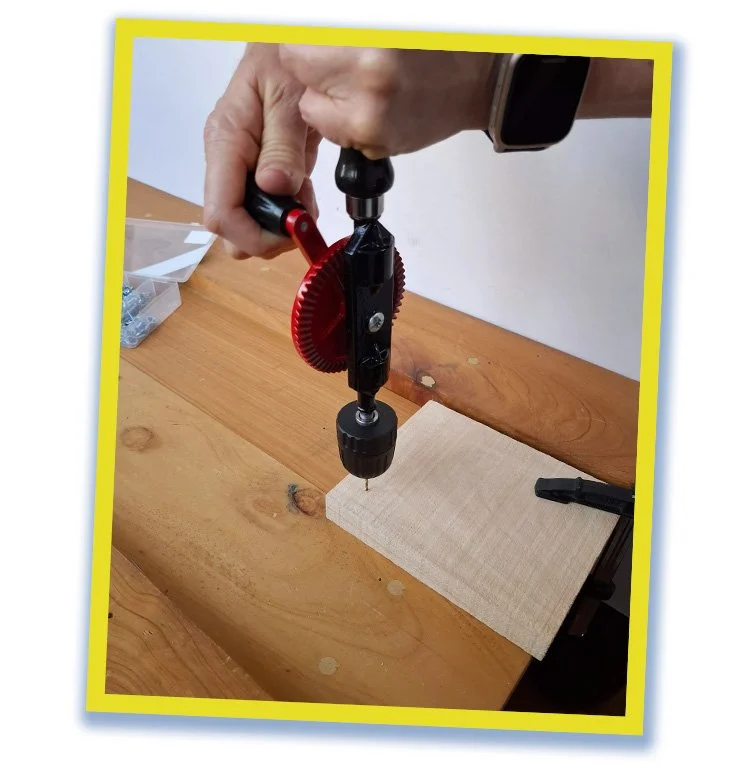
Step 3: Drill pilot holes
Clamp your wood securely to the carpentry bench. Using a hand drill, make small pilot holes where each pencil mark is.
Pilot holes make it much easier to turn your screws into the wood and helps prevent your wood from splitting.
Top Tip: Choose a drill bit slightly smaller than the width of your screws for a snug fit. If your pilot hole is too big the screw will fall out.
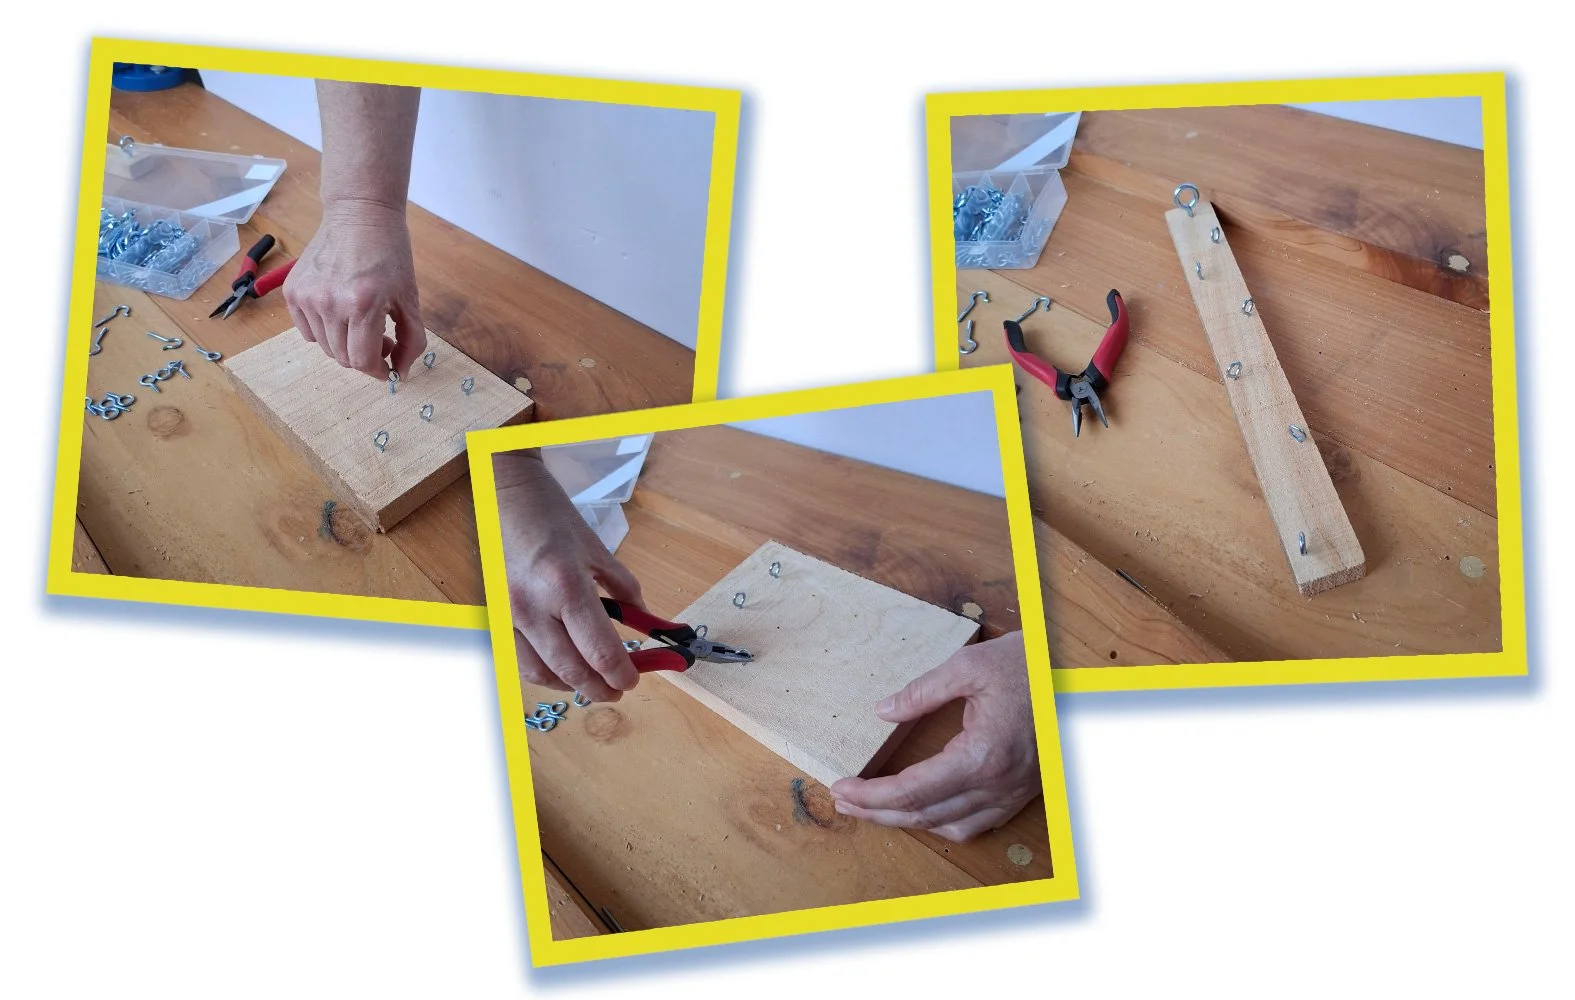
Step 4: Screw in the eye screws
Twist an eye screw into each hole. If they’re a bit stiff, you can use pliers to help turn them all the way in.
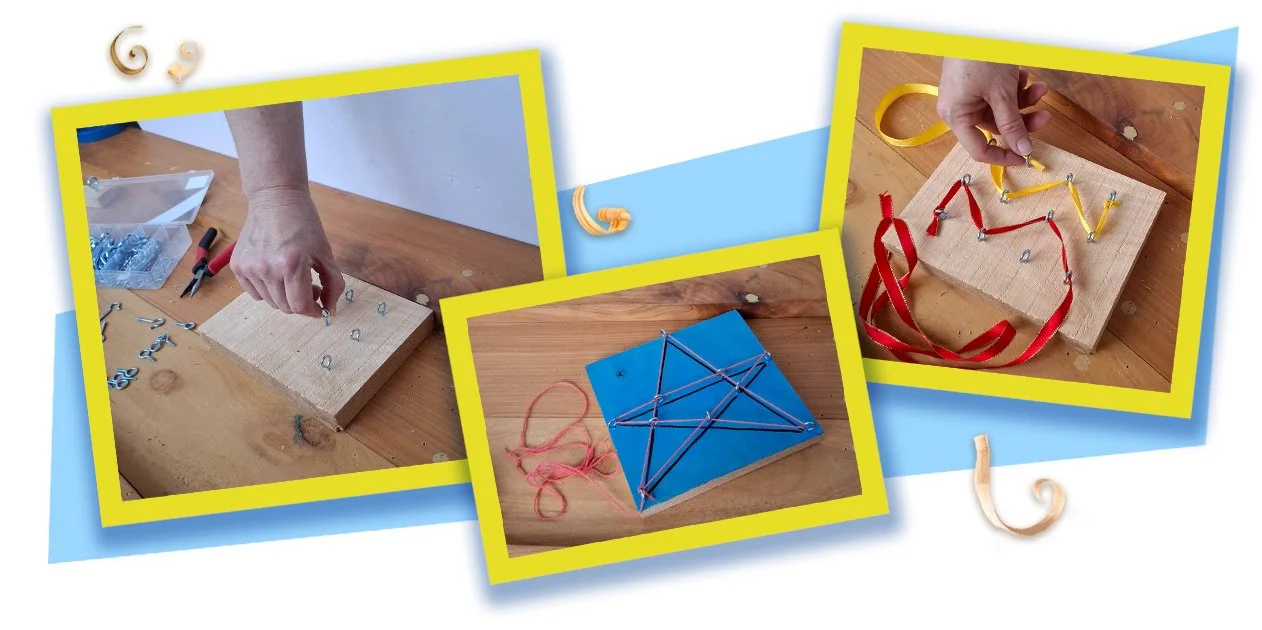
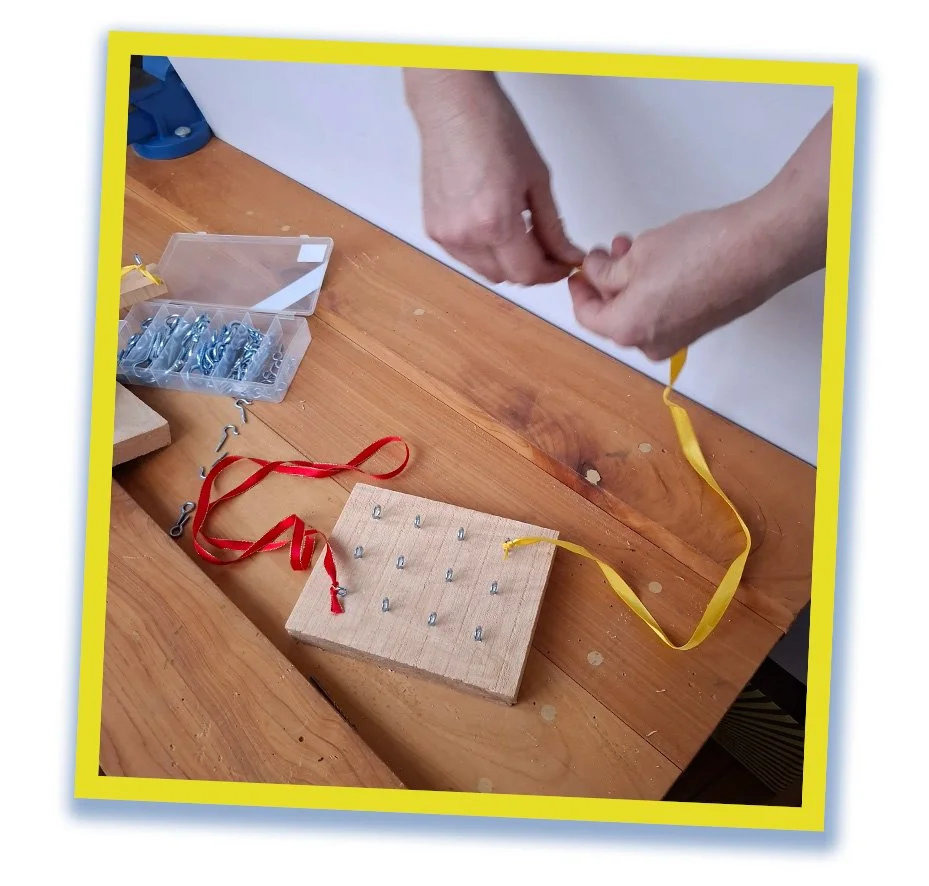
Step 5: Start threading!
Your DIY threading board is ready to go!
Choose a length of ribbon, wool, or string, tie one end to a screw and start weaving it through the eyes.
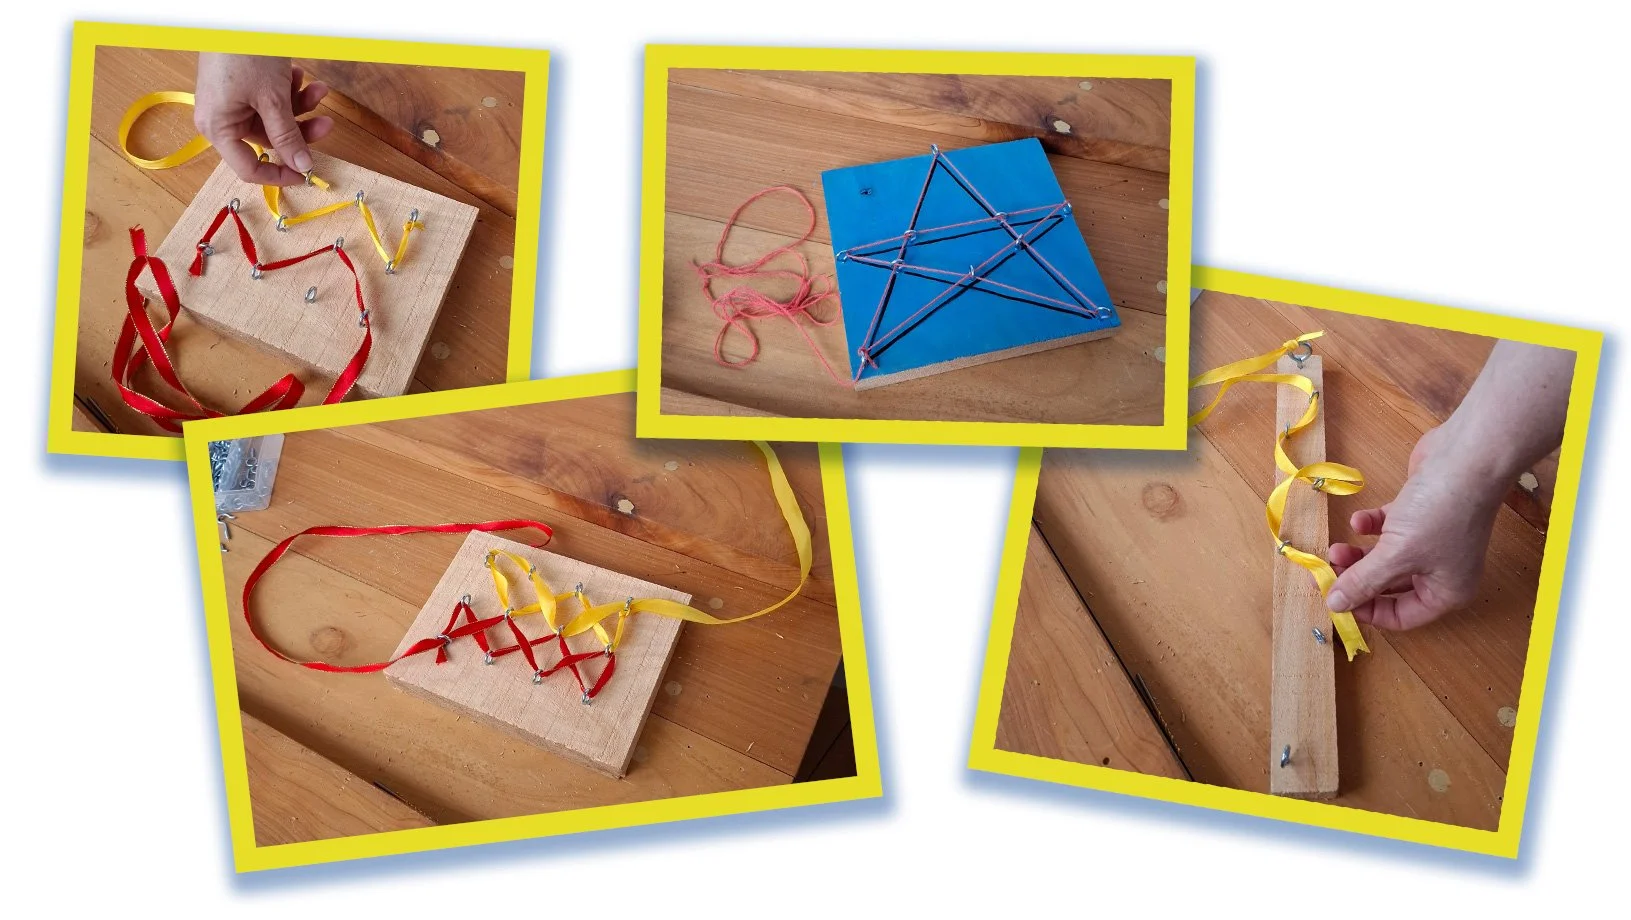
Try criss-crossing, zig-zagging, or looping to see what patterns you can create.
Take a photo of your design before pulling it out and starting fresh - you’ll never run out of new patterns to try!
Lisa’s Top Tips:
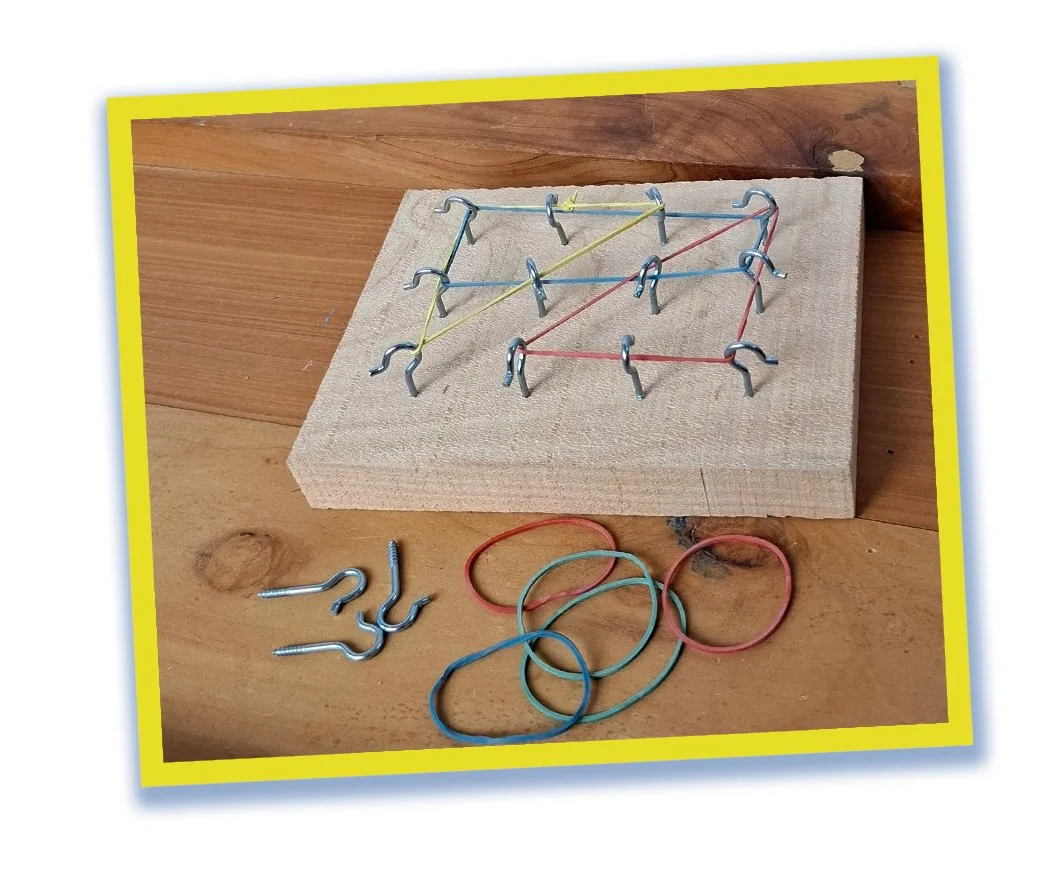
Try using hook screws instead of eye screws to make a rubber band version, similar to a geo board. Kids can stretch rubber bands across the hooks to create geometric shapes and patterns.
Experiment with different shapes of wood. A long skinny board with screws zig-zagged down the centre can look like a snake or taniwha once it’s threaded!
Decorate your wood before adding the screws. Paint, pens, stencils etc add another level of creativity and personal expression to the activity.
Older children who have outgrown threading can make the boards as gifts for younger siblings, cousins, or friends - a purpose-driven way to build woodworking skills while making something meaningful
We always love seeing what tamariki create. If you try this project in your classroom or at home, feel free to send photos through — we’d love to see what your little builders make.